Sunday, September 25, 2011

Right now...

Right now, I have two favorite pictures on my computer that I cannot stop looking at.  They happen to be taken on the very same day.  The first:

Salt Lake LDS Temple
{it's actually my 2nd fav}

This picture was taken after the Women's Conference.  My mom & I got tickets to the Conference Center for the event.  After, we walked across the street on the way to Deseret Book and got this pic.  I actually took four pics and this one turned out the best.  I almost didn't take it because I already had two from the other side.  I am so glad I took this one (the one before this made the walls look really green). 

And, now for my very favorite picture:


I took this while we were at the cemetery celebrating my dad's 66th birthday by writing notes to balloons and letting them go. {we have been doing this for several years for my big bro}  I was laying on the ground trying to get this pic:
using the remaining balloons as a shield from the sun.  When I took all the pictures I wanted, I turned the camera and took the above shot.  I am so impressed with it. I will be the first to tell you that I am not a photographer. And though I occasionally get a shot that I love, I don't know all that much about taking pictures.

Enjoy!!
{I know that I have been!}

Wednesday, August 3, 2011

It's done!!!!!!!! {finally}

In the last post, I gave you a hint as to what I have been working on.  Well, I am happy to say that it is finally done-well one project anyway.  It could have been done over a week ago, but I am really good at putting things off.  Are you ready? Here is the before:

just your standard cheap big box store bookcase. hubby bought if for me for mom's day about 7 years ago

And, now for the after:
How did I do this you ask?  Well, I took the above bookcase and flipped it on it's side. Sorry, I forgot to take pics during the makeover-I was so excited for this redo I couldn't wait to get it done.

I cut off the "foot' part of the bookcase. I took the two shelves and cut them down to sit in the case horizontally and a third shelf (from an unsuccessful redo) and cut to fit into the case vertically.  I added 'L' brackets to hold the shelves. I used a nail gun to secure the vertical shelf.  Then with the help of these:

I primered the heck out of the bookcase. I used Bulls Eye cuz the case is that cheap laminate crap.  I did  two coats of primer and two coats of paint. I got the semi-gloss because I wanted something that is durable yet easy to clean.  The color I used is Blue Robin's Egg.  It is a very bright  in-your-face kind of turquoise. I loved the color, but it's a bit too bright to go with my home. So, I used some antiquing glaze to darken and age it a bit.

I then added some trim. I originally was going to picture frame the bookcase with the trim, but then hubby reminded me that because the trim was a tad wider than the sides, it will crack and possibly break off as books are put onto and taken off the shelves.

As a final touch, I added some very girly legs. I could have gone a bit taller, but I love the height of this as is.  Here is the after shot again.
I am so in love with this. I am so excited to fill it up and adorn the top with some decor.  Thanks for sharing my much awaited reveal.


I am linking:

 Furniture Feature Fridays
 

Friday, July 22, 2011

Foodie Friday-BBQ edition

SUMMER = BBQ

I love when summer comes around because I get to spend my days outdoors; playing with the kids, digging in my garden, relaxing and eating food from the grill.  The weekend of the 4th, we had my family over for a BBQ and I tired a new recipe.  Instead of the tradition bbq sauce/marinade, I found a glaze made from watermelon.  It turned out so good that even my hubby liked it-he doesn't like meat and fruit together.
watermelon glazed chicken served with potato and fiesta salad (recipe to come)

Here' s the best part--the recipe. 

Grilled Chicken with Watermelon Glaze

  • recipe Watermelon Glaze, recipe below
  • whole chicken or 3-1/2 lbs. meaty chicken pieces (I used 3lbs whole chicken pieces)
  • 1/2 tsp. kosher salt
  • Snipped fresh herbs (optional)
directions
1. Prepare Watermelon Glaze: Cut half of a small watermelon from the rind in chunks (about 4 cups of fruit). Cut remaining half of watermelon into wedges for serving; refrigerate until ready to serve. Place in a food mill or juicer and collect the juice. Or place watermelon chunks in blender. Cover; blend until nearly smooth. Pour mixture into a fine mesh sieve over a bowl; discard solid bits. Reserve 1 cup of the juice and drink or freeze the rest. In small saucepan melt 1, 12-oz. jar apple jelly over low heat, stirring often so it doesn't burn. Stir in 1 cup watermelon juice, the juice and zest of one small lime. Add 2 tsp. red chile flakes, 1 tsp. jalapeƱo hot sauce, and a pinch of salt. Mix and taste. Adjust seasoning as desired; remove from heat. Use warm, or let cool and transfer to a clean jar. Glaze will keep, tightly covered, in the refrigerator for up to 2 days.
2. Remove chicken from packaging and pat dry with paper towels. To butterfly, using poultry or kitchen shears cut along each side of backbone to remove it (see "butterflying chicken," below). Turn chicken breast-side up. Open the two sides of the chicken as if you were opening a book, and lay it flat. Break breastbone by firmly applying pressure and pressing down. Tuck wing tips under upper wings.
3. Prepare grill for indirect grilling (see below). Brush chicken with olive oil. Season chicken on both sides with salt and black pepper. Place skin-side down, on center of grill over indirect medium heat.
4. Grill 25 minutes. Turn chicken over. Brush a little of the remaining 2/3 cup glaze on skin. Grill 25 to 30 minutes more, or until juices run clear and an instant-read thermometer inserted in thickest part of thigh registers 180 degrees F, brushing with glaze 2 more times.
5. Remove chicken from grill; brush with the reserved 1/3 cup glaze and let rest 10 minutes. Cut chicken into pieces. Serve with fresh watermelon wedges and sprinkle with herbs. Makes 6 servings.
Butterflying Chicken:Butterflying makes it easy to cook a whole chicken on the grill. Kitchen or poultry shears are the best tool for the job. Make a cut about 1-1/2 inches apart on both sides of the backbone, cutting all the way down, and remove backbone.
Indirect Grilling:This method positions the fire to one side or both ends of grill. Food sits over the unlit part, and the grill is covered so the food cooks from all sides. This is best for thicker cuts that need longer cooking like roasts and ribs.

ENJOY!

Tuesday, July 19, 2011

Decrapification!

{yes, that is a word}

Last Saturday my family had the chance to get rid of a bunch of junk at a community yard sale held in the parking lot of a local grocery store. They usually hold it in August, but hits year it was in July. I am glad they held it earlier in past years, I have been at J's (my daughter) softball game during the sale.
 

Our booth.  And, this is after we sold several of our big items: toddler bed, hotwheels play set and table, and J's bike she outgrew.


There were quite a few booths and a ton of shoppers.

I am excited to get rid of stuff, cuz now, I can finish up some projects I have going on using one of these
 and this find from a yard sale {sorry about the frame glare}


Friday, July 8, 2011

Foodie Friday-Pizza Edition

In addition to crafting, sewing (which is still crafting), and dancing (I'm really into zumba right now) I love to cook-and bake.  Hubby and I are addicted to food shows-MasterChef, The Next Food Network Star and Hell's Kitchen-just to name a few.  Back in June, my mom, sis-in-law and I went on a weekend Scrap Retreat (post coming soon) and while there, four wonderful ladies cooked every meal for us-I know, right?  One of the meals was homemade pizza. We just love making pizza around here because the kids get to choose what to put on it and that means they eat it all!!  The crust recipe that was used is so easy and very yummy-hubby said it tasted restraunt quality.  Here is the finished pie (well, what's left of it):

(this pic was actually taken at the retreat. I cook mine on a pizza stone which makes the bottom perfectly brown and crispy)

And, here's the recipe (your welcome)!

Crust:
1pkg highly active yeast (2 ¼ tsp)
1tsp sugar
1 cup very warm water
2 1/2cup bread flour ( or add one Tablespoon vital Wheat Gluten to reg flour)
2 tbsp olive oil
1 tsp salt

Put yeast, sugar & water in bowl and let it sit for about 10 min until it's creamy. Then mix in the rest of the ingredients & mix until it's nice & smooth. Then form a ball & let it sit for about 5 min. Then roll it out onto pizza pan. Cover with sauce (recipe below), toppings & bake @ 450 for 15-20min.

Sauce:
1 8oz can tomato sauce
1 clove of garlic, minced
1 tsp oregano
Pinch of garlic salt
(I add Italian seasoning)

Mix all ingredients then top pizza, no need to heat or let it sit.


Linking:
                     

Friday, July 1, 2011

GNOWMVR!!!

{which stands for Girls Night out with Mandi from Vintage Revivals}

Remember when I entered this contest?
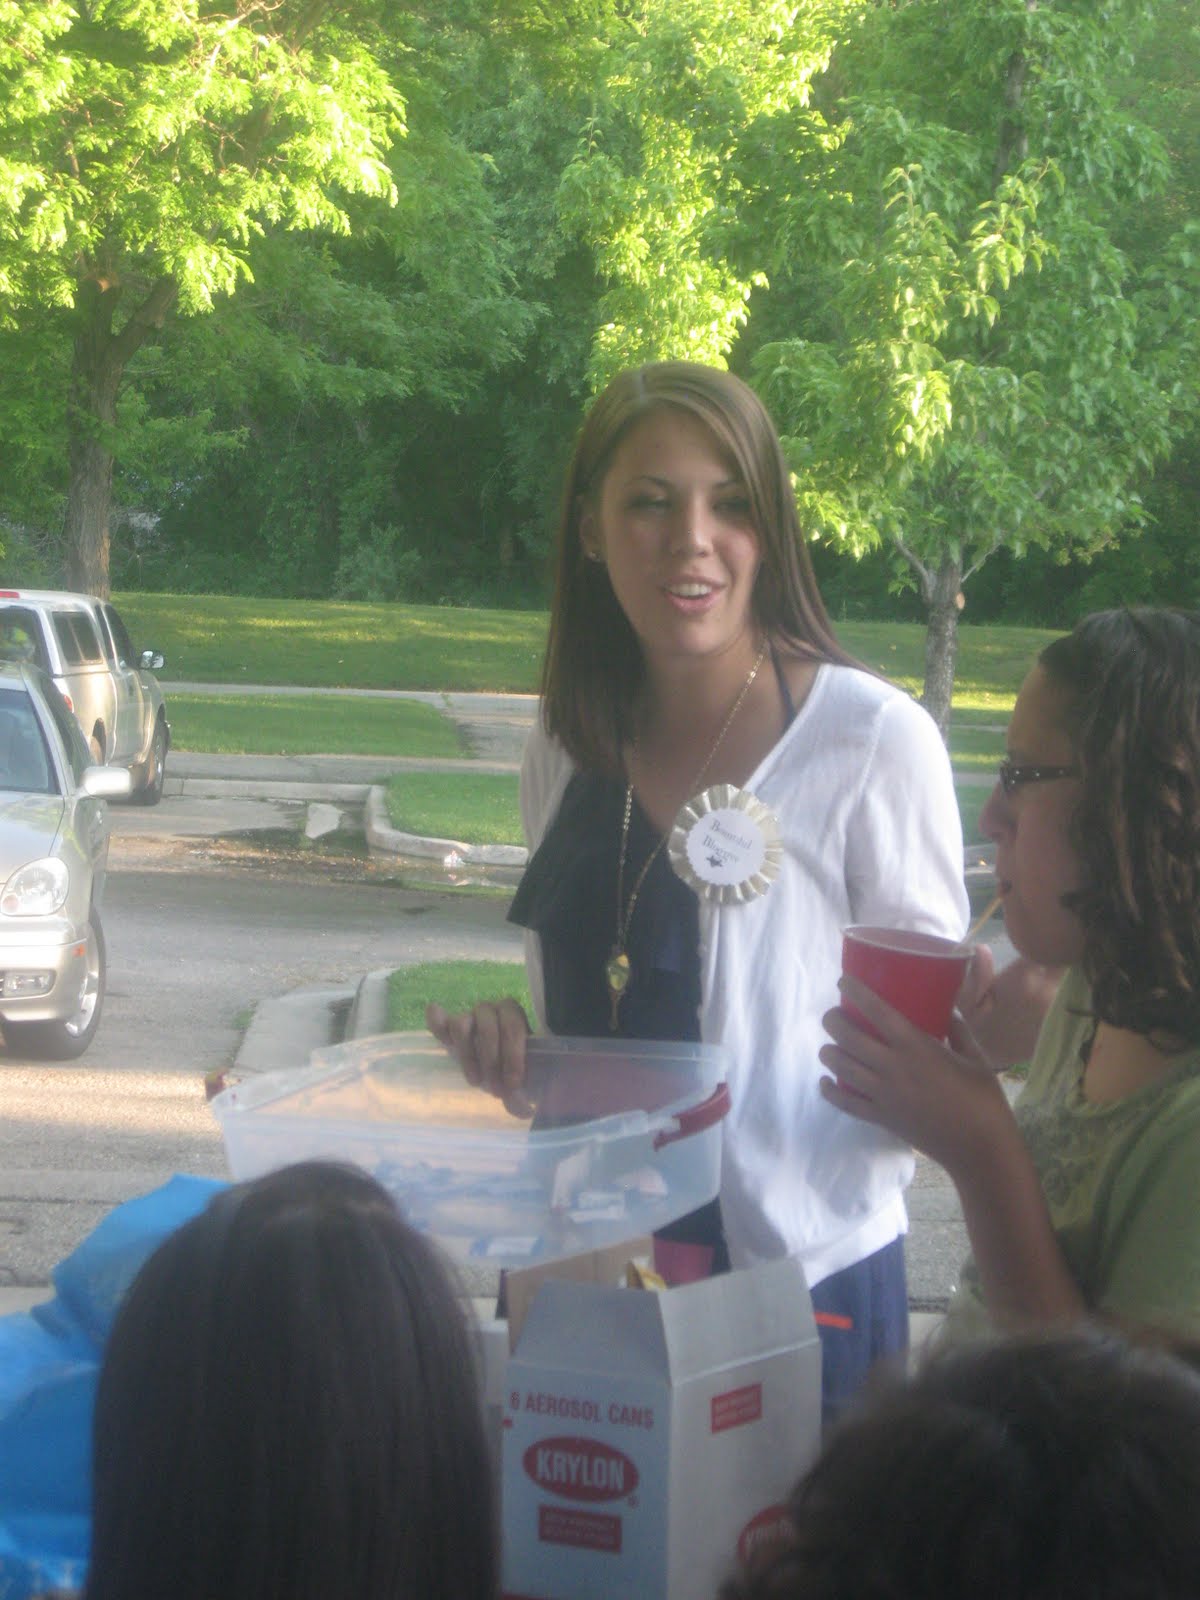
I didn't win, but someone who lives by me did!! Her name is Jessica and this is her blog and to see the reveal go here. While Mandi was up, she hosted a girl's night out. I almost didn't go. I am not one to just show up by myself to places where I don't know anyone. If I do go anywhere like this, I take my mom. Cuz, hey, at least I know one person right? I told myself everyday for a week that I was going. And, if I felt uncomfortable at all I could leave at any time-I did drive myself there after all. We were all to bring treats to share. So, I made mini cheesecakes. {recipe to come}
 
I did come home with a few but that is only because there were so much yummy goodness there. Like


homemade goodie boxes filled with chocolate candy from Natalie.

Or these

Pink Lemonade cupcakes from Amy. It turns out that I have known Amy since we were 15 when we danced on the same team. That right there made me so happy that I went-even by myself. See the cute pin she's wearing?  Michelle made them for all the bloggers there-and I got one!!! It's so cute. It's her business card made from pages from a book and her info is on the back.

Here are some more pics of our fun {and long} evening.


Mandi had a drawing for some paint, brushes and this awesome frame. The gal in the middle won-I just didn't get to meet her, so I don't know her name. A few of us ended up talking until past 11pm. It was fun, I'm glad I went. Here's the group shot.

Natalie @ Doodlecraft
Laura @ Corner House
Me {you're already here!}

Thursday, June 30, 2011

July Decor aka Americana

October is really my favorite month of the year. but July is coming in a close 2nd.  I decided that I needed to summer up my home a bit (I still had Easter decor out).  So, I started on my entry table. 

I've had these two little frames (2x3?) in my home decor box forevah.  So, I pulled them out with this project in mind. But since I only had two, I needed to figure out what to do with it. I was looking around my 'crap'room and noticed this glossy white 's' (because I am a little obsessed with my initial) across the room and I knew that this was what I wanted to use.  I had the ribbon on hand from an after Christmas clearance sale at Wally's (the only thing that store is good for). The letters and background were cut from felt that I bought from the DI (thrift store) in a huge bag with 100 lots of other colors for $2-score!! I cut the letters out using a stencil.  I flipped the stencil backward and traced it with a pencil then cut it out and since I wrote on the backside you don't see my trace marks. I sandwiched the two layers of felt behind the glass and stapled the ribbon to the back of the frames and 'S' and tied the red to the 'S' to even out the colors a bit.


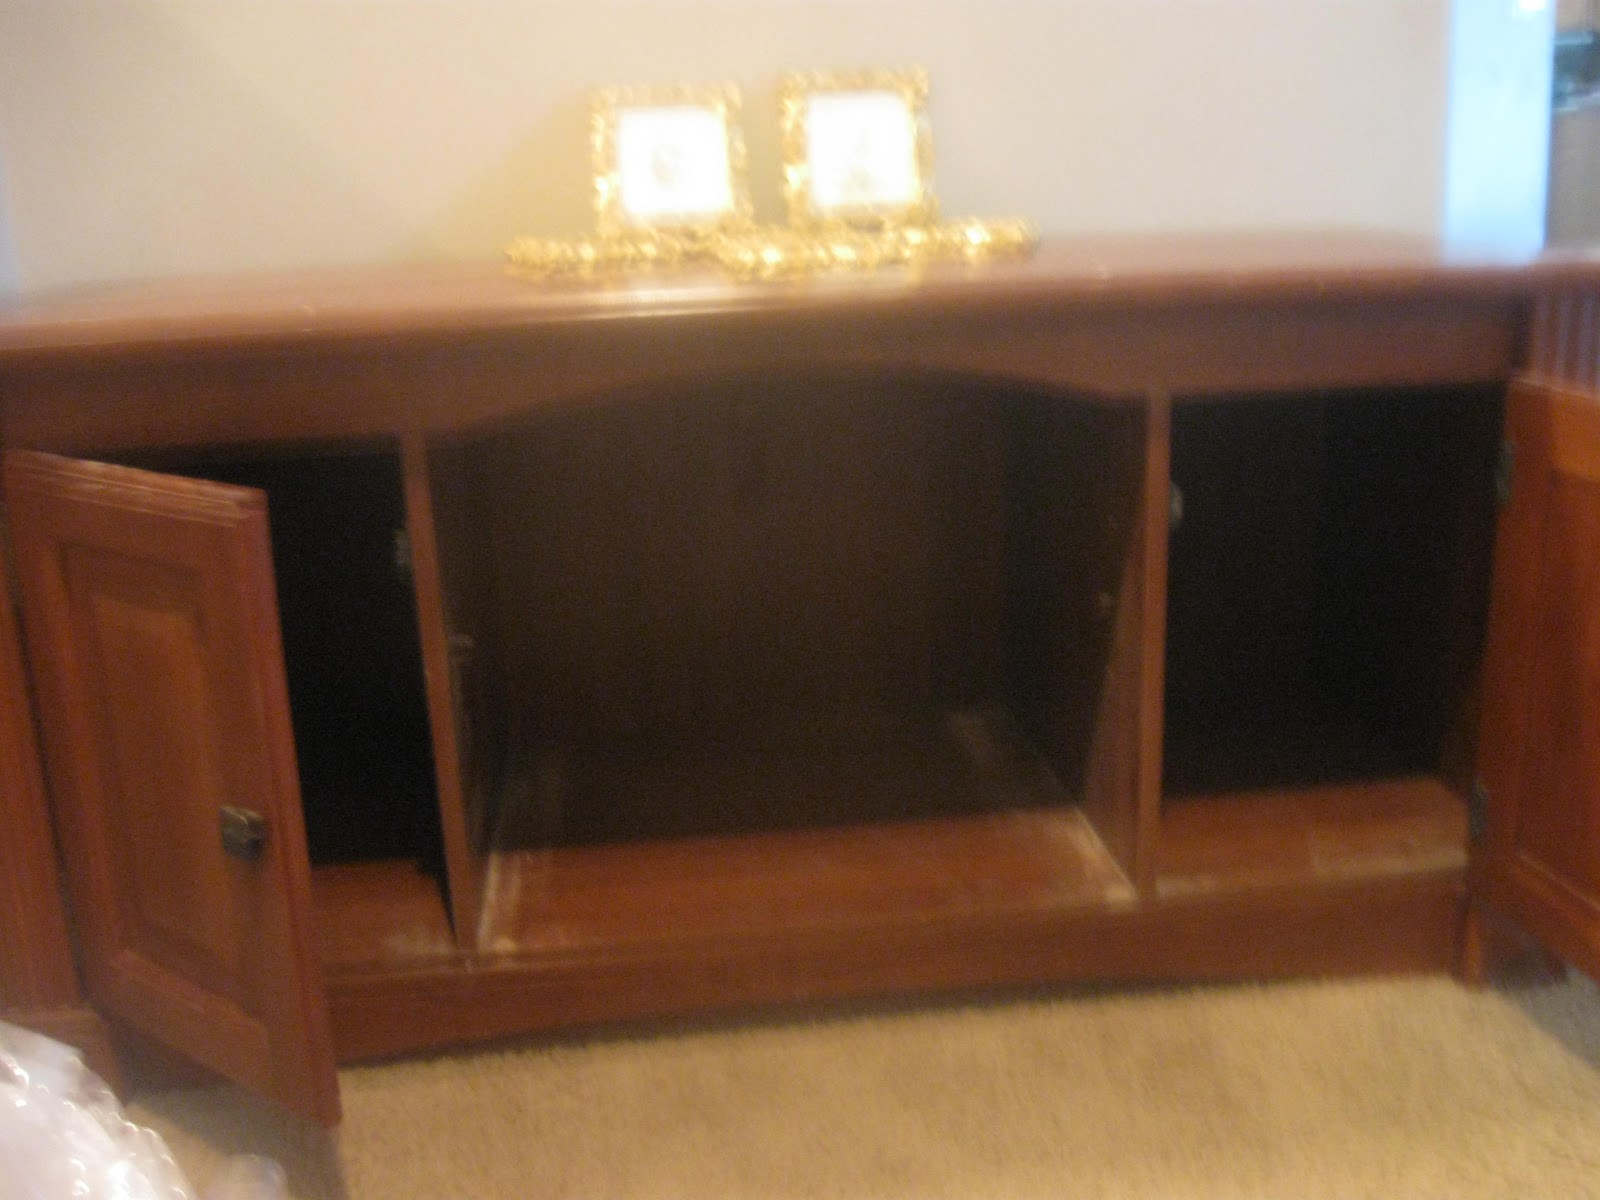
As for the rest of the decor.  The vase is actually a Valentine's Day vase that I got from Deseret Book at-yup, an after valentine's day clearance sale. I just turned it around so you can't see the "Be mine".  the 'fireworks' in the vase are shiny pipe cleaners from my kids' craft box.  The 4x4 flag was made at a Super Saturday way back in 2009-ish.  The 4x4 pillars were made last year for my boutique selling obsession business.  The fabric I bought last summer in the fabric remnant section at Wally's (again, another clearance item).  The 'N' I got in May at Ross for only $3.  I still want to spice it up by spraying it white, or lt blue, or even silver.  But, I think it works fine in black.  It balances out the Welcome sign (which I got back in 2009-ish from a friend that had her own vinyl business).


So, because I already had so much on hand the total cost is just a few pennies over $3 since I hardly used any felt and the 'N' is a very recent purchase.  I hope this inspires you to 'summer-up' your home.


I am linking up:
DIY under $5     Somewhat Simple       Photobucket